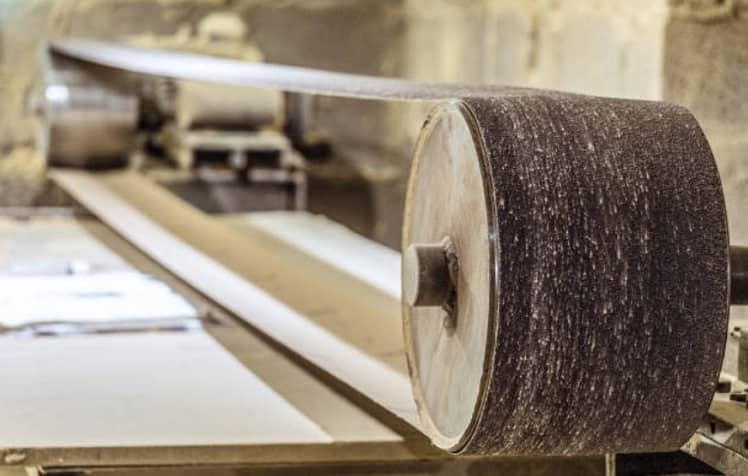
While manufacturers try to make them sound more fancy and sophisticated, sanding belts are simply strips of coarse and abrasive paper and even cloth. As long as they fit properly around the two spools of your belt sander, then they should fit the bill, smoothing and polishing wood and even metal like any other sanding belt.

Now there’s nothing wrong with buying sanding belts that are ready-made; the point is, if you’re in a pinch, or if you happen to have extra sanding rolls around, then you can make some on your own.
You Will Need
- Your Belt Sander
- A Roll Of Sandpaper With The Grit You Need
Steps
- 1. Understand the sort of sandpaper which will do the job you require. Commercially produced rolls of sandpaper are like any other manufactured materials treated with a coarse and abrasive substance. This abrasive is no longer just ‘sand’, as the material is commonly known to have; advances in technology have placed more reliable material such as emery or garnet on today’s sandpapers. If it isn’t that, then you are sure to see complicated compounds such as chromium or aluminum oxide treated right on the paper or cloth. No matter what the paper is treated with, you will see that if you prepare the roll correctly, it will work on your belt sander like any other pre-made sanding belt.
- 2. If you have a used belt lying around, you can use it as a guide for you to prepare your own belts from scratch. Cut the belt cleans across so you are left with a literal belt, and not a loop. Lay this belt on top of the sheet of sandpaper you purchased, and proceed to cut off a belt the same size as your used one. If you don’t have a reference, you can wrap the entire sheet around the spools of your belt sander, and proceed to mark the paper for future cutting. When you do your cutting, approach the material at an average angle, approximately 32 degrees. It is important for you to cut in angles to make sure you join the ends of your makeshift belt more firmly.
- 3. Prepare to make the belt into a loop by rubbing off the abrasive on both ends of the sandpaper belt; this is achieved with a file or any other hard object around. You are preparing these ends for an even application of adhesive to stick them together properly. Use an adhesive or a glue appropriate for paper or cloth, depending on the material you are working on. In some cases, you may want to prepare both ends with more than one soaking of adhesive.
- 4. Proceed to complete the loop by aligning the ends of the belt before pressing them together. Take your time in doing this, as it is absolutely critical for the belt to be completely parallel at all points. Wipe off any excess glue, and make sure the proper pressure is applied on both ends so they are totally stuck together after the adhesive is dried. Test the bond after the time it takes for the glue to set before fitting it into the sander.
RELATED POST: Mistakes In Sanding And Their Solutions