If a particular project you’re working on involves a good deal of sanding, then you are definitely going to be burning through more sanding belts. There are ways for you to address the constant need for fresh sandpaper running through your belt sander, but why don’t you consider saving a good amount of cash by gluing the belt yourself?

- You may have already noticed that the sandpaper you buy in any hardware store can come in roll form. With a little ingenuity, you will find how this can be used to your advantage. Read on to find out more.
You Will Need
- The Sanding Belt
- Industrial Adhesive (Building adhesive will do the job)
- A Knife
- A Sanding Stone
- Some 2×4 Wood Blocks
- A Marker and Pencil
- A Ruler and Protractor
- Hand Clamps
Steps
- 1. Pick the appropriate sandpaper with grit which would work for your particular project. Remember that tougher projects call for rougher grit sandpaper.
- 2. Take the sandpaper roll and wrap it around the pulleys of a belt sander, like you were putting a new belt in. Give an extra half inch allowance because this will be where you will be gluing the paper together into a loop. Use a marker or a pencil to remember where the overlap will be.
- 3. Flip the sanding paper over; take your protractor, and measure a precise angle of 32.5 degrees from the mark you just made. Using a pencil or a marker, draw a straight line to the other end of the paper roll, following the said angle.
- 4. Take your knife, and carefully cut along this line you drew; again, it is measured at 32.5 degrees. Repeat the previous step and this one in order to make an appropriate cut to the other end of the paper at the same angle.
- 5. Take your ruler, and measure half an inch away from the edges of the sandpaper. Mark these areas with a line, and use your sanding stone to smooth out the sand a half inch away from the edge of both sides. These will serve as the areas where you will be gluing the paper together.
- 6. Ready the adhesive, but wrap the sandpaper around a 2×4 block, rough side facing up, and with the smoothed ends on top of the wood. Brush the adhesive onto these ends, and take time to ensure that the ends are aligned perfectly before actually sticking them together. To ensure that the bond stays, weigh an additional piece of wood on top of the 2×4.
- 7. You can use clamps to hold the wood together, so the adhesive really does its work. Wait at least 8 hours for the bond to complete and dry.
- 8. Remove the clamps, lift the wood block and take your new sanding belt out of the 2×4. Use as necessary.
RELATED POST: How to Bend Wood
Reminders
- You can use this technique to make several sanding belts out of one roll of sandpaper. Make the most out of your resources, and you will have extra belts in case something happens.
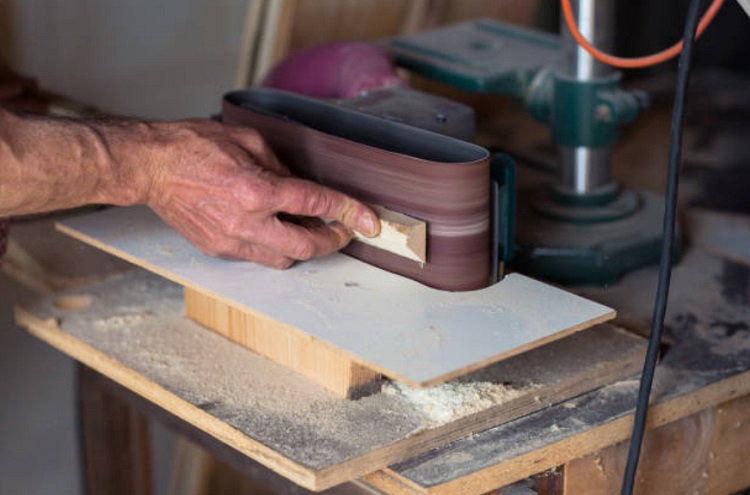
- You should make sure that the belt’s angle is running towards you after you install the belt and put it to work.