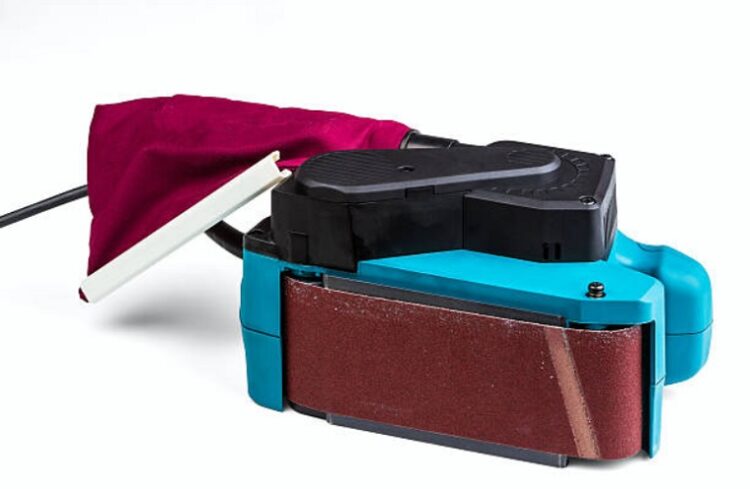
Today’s belt sanders come with more advanced and more thoughtful features than they ever have had. While companies have been constantly improving on the actual belt sander mechanisms and handling, there has also been the pleasant addition of a dust collection system in the most recent iterations of belt sanders. These belt sanders come with a suction system to collect as much residue as possible and to accumulate it in a dust bag.
When it comes to attaching the dust bag to any compatible belt sander, it is usually an easy and straightforward process of ensuring that the bag fits properly and securely into the appropriate nozzle on the power tool. Though manufacturers usually make this operation of attaching and detaching the dust bag quick yet secure, some dust bags may have a slightly higher learning curve to adjust to so you get it right each time.
Maintaining The Dust Bag
- If dust makes its way anywhere in and around the moving parts of the power tool, then the entire belt sander may be damaged permanently. Besides making sure that the dust bags are attached securely, you would also need to make sure that it is collecting most, if not all the dust and dirt at any given time. You will notice that the dust bag is full if you are seeing more and more residue flying around as you keep sanding after extended periods of time.
- When that happens, you will need to clean out the dust bag. To do this, switch the power tool off and place it in a safe position before detaching the dust bag from its nozzle. Most dust bags will have a zipper to make proper dust disposal quick and easy. Before you reattach the dust bag you need to make sure that the nozzle is as clean as the rest of the bag for a tight and proper fit. Take note that you will be emptying the dust bag more than once if you’re subjecting your belt sander for bigger jobs over greater surface area, or tougher and thicker material.
Understanding The Design Of The Dust Bag
- Manufacturers usually come up with unique designs for their dust bags to make them fit only with their own belt sanders. The nozzle has a standard design so you can fit the dust bag into any of their models.
- You may not be able to use a dust bag from one brand on a belt sander made by another manufacturer. Do not attempt to jury rig or customize the nozzle or the dust bag to force it to fit, or you run the risk of dust leakage or even injury.
Safety Guidelines
- Though the dust bag does wonders in collecting dust and keeping most of the dust from just flying all over the place, you should always prioritize safety by wearing the appropriate safety gear. This includes safety goggles and filtered dust masks to keep residue from being inhaled or getting into your eyes. Also, take a time to clean up every now and then, in between longer sanding jobs, in order to avoid fire hazards.
Other Dust Collection Options
- While the dust bag which comes with the belt sander could be more than enough to keep things clean and protecting as you do your sanding, you also have the option of attaching a shop vacuum to the entire belt sander. The vacuum has a way larger capacity than your dust bag, and therefore you wouldn’t need to stop and empty the bag as often as you usually would. If you do not need to move around as much, and if you are working on thicker materials which need more levelling, then you may want to consider using a vacuum in place of a dust bag.if you decide to buy a shop vac, reading the in-depth buying guide provided by WoodworkerHelp can steer you to the right choice.
- The lowly dust bag may not be given as much attention as the rest of the belt sander, but its function is absolutely valuable if you want your sanding jobs to go easily and safely.

